
Wet Wall Installation Checklist for Waterproof Backer Board Projects
wet wall installation checklist decisions are easier when buyers connect product selection with the real wall assembly. This guide explains how to review requirements, compare details, and prepare a clearer conversation with SHENGTU before ordering waterproof backer board or related keel components.
The goal is practical: help contractors, distributors, designers, installers, and project buyers avoid vague specifications, missed site constraints, and last-minute changes. The wet wall installation checklist topic is handled as a jobsite decision, not a generic product description.
Table of Contents
- Why checklists matter
- Pre-installation checks
- Board and frame alignment
- Risk areas
- Material readiness
- Pre-tile inspection
- Common omissions
- Takeaway
- FAQs
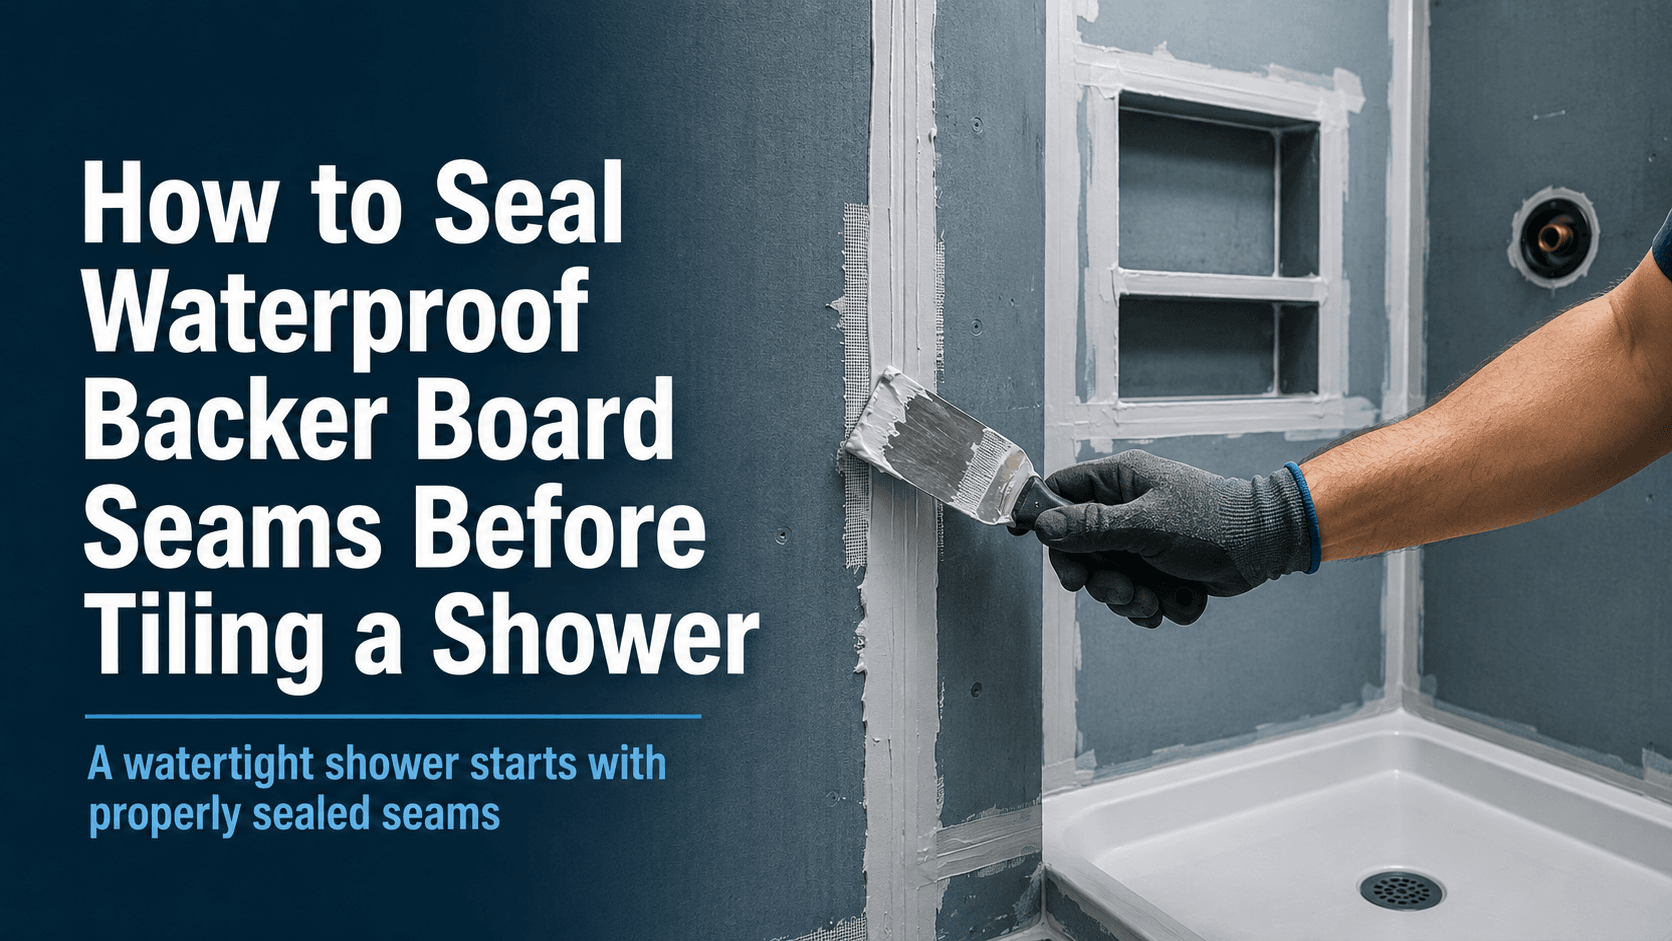
Why a checklist matters before tile
A wet wall installation checklist gives the project team a shared way to inspect the work before tile hides the substrate. It is especially useful when waterproof backer board, fasteners, joints, and openings must be coordinated in a tight schedule.
For wet-area projects, wet wall installation checklist should be checked against wall framing, expected exposure, tile layout, openings, and inspection timing. That early review protects schedule clarity and helps the purchasing team ask better questions before materials arrive.
Pre-installation checks
A useful wet wall installation checklist starts before the first board is cut. Confirm wall framing, support plane, room dimensions, plumbing penetrations, and the finish layout so installers are not forced to guess on site.
| Checklist area | What to verify |
| Framing | Flat, stable, and ready for board fixing |
| Board layout | Cuts avoid weak slivers at edges |
| Openings | Valves, pipes, and niches are marked |
| Handoff | Photos and notes are recorded before tile |
Board and frame alignment
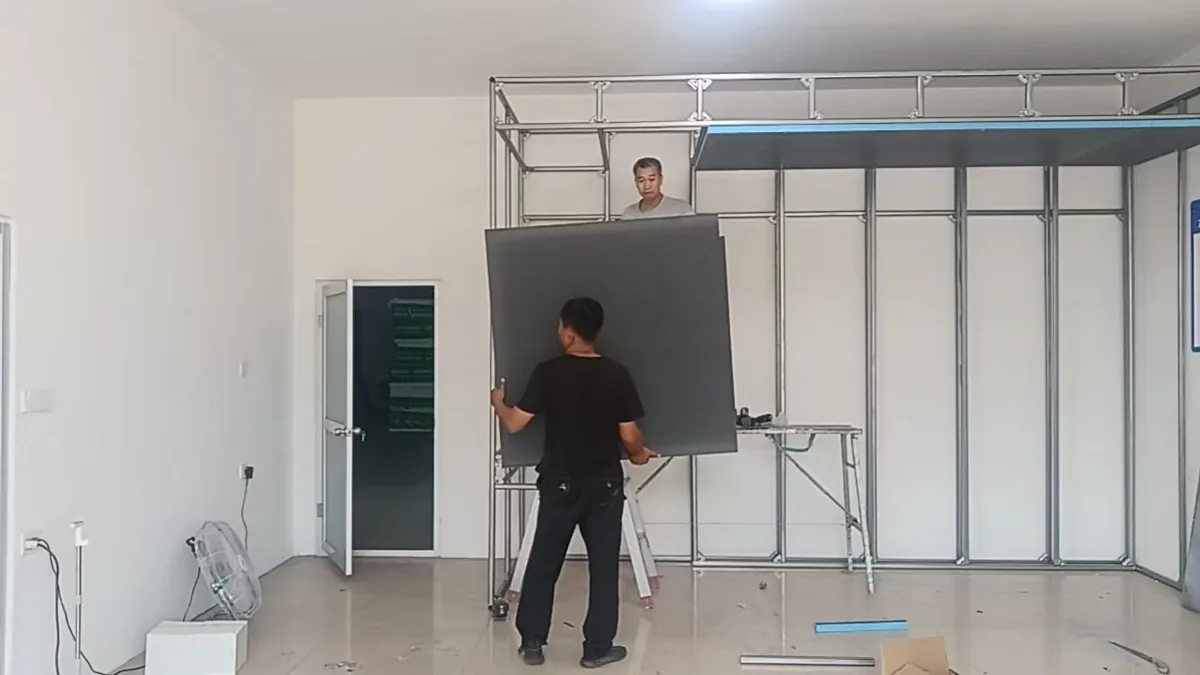
The wet wall installation checklist should link waterproof backer board placement with keel or framing alignment. Fasteners need reliable support, and board seams should not create avoidable weak points in the wall.
Risk areas that deserve extra attention
Corners, niches, curb transitions, pipe openings, and high-use splash zones deserve special attention. A wet wall installation checklist should call out these details directly instead of hiding them inside a generic inspection line.
The main risk is assuming that every wet wall has the same conditions. A wet wall installation checklist review should separate standard walls from high-use corners, pipe penetrations, storage constraints, and areas where other trades may change the surface before tile work begins.
Material readiness before work starts
A wet wall installation checklist should include material readiness: boards, fasteners, accessories, cutting tools, and storage condition. Missing accessories can create delays even when the board supply has arrived.
- Check room drawings against actual wall conditions.
- Confirm board orientation and support spacing.
- Review seams and openings before covering them.
- Keep inspection photos with the project record.
Pre-tile inspection and documentation
Before tile work starts, the wet wall installation checklist should be used for a final review. The installer and supervisor should agree that boards are secure, surfaces are clean, and details around openings are ready.
Industry resources such as the Tile Council of North America are useful references for understanding tile installation expectations, while the EPA mold and moisture guidance reinforces why moisture, storage, and building performance should be addressed before finishes cover the wall.
Common omissions that lead to rework
Many problems come from skipped basics: no photo record, unclear seam treatment, rushed openings, or support that was not checked. A wet wall installation checklist keeps those issues visible.
Takeaway for contractors and buyers
A wet wall installation checklist is not extra bureaucracy. It is a practical tool for making sure waterproof backer board work is ready before the most expensive finish stage begins.
For related product information, review SHENGTU waterproof backer board options and the quick-install keel system. These internal resources help connect wet wall installation checklist decisions with materials available from the same supplier.
Practical field notes
Start with the rooms that carry the highest risk. High-use shower walls, service areas, storage rooms, and renovation zones often reveal problems earlier than simple dry walls. A short review of those spaces helps the team see whether the chosen board strategy is practical under real site pressure.
The project record should stay usable. Keep photos, room names, drawing references, material notes, and open questions in one place so that procurement, supervision, and installation teams do not rely on memory. Clear records are especially useful when several crews work in different areas of the same building.
A final check should separate supplier questions from site responsibilities. Product selection, accessory match, packaging, and delivery planning can be discussed with SHENGTU, while local code, final design approval, and structural decisions should remain with the qualified project professionals responsible for the building.
Site execution notes
A useful site plan does not need to be long. It should show where boards will be stored, who checks the first room or first wall, how questions are recorded, and when the area is ready for the tile crew. This gives the project team a practical rhythm instead of a vague instruction.
Supervisors should also protect the decision record from becoming stale. If a wall is repaired, a delivery is moved, or an opening changes, update the record before the next crew starts work. Small updates at the right time are easier than explaining a hidden problem after the finish is installed.
For purchasing teams, these notes create a better supplier conversation. Instead of asking only whether a board is suitable, the buyer can explain room conditions, handling limits, delivery timing, and accessory needs. That makes the response more specific and helps prevent mismatched expectations.
FAQs
What is a wet wall installation checklist?
A wet wall installation checklist is a project review tool for checking framing, board layout, seams, openings, and pre-tile readiness.
When should the checklist be used?
Use the wet wall installation checklist before cutting boards, during installation, and again before tile or finish work begins.
Who should sign off the checklist?
The installer, site supervisor, and project buyer can all use the wet wall installation checklist to reduce handoff confusion.
Does the checklist replace product guidance?
No. A wet wall installation checklist supports project control but does not replace product-specific instructions or local code review.
Can SHENGTU help build a checklist?
Yes. SHENGTU can help buyers discuss a wet wall installation checklist around waterproof board and keel system details.
Discuss your project with SHENGTU
If your team is comparing substrates, framing details, or wet-area installation plans, share your drawings, room type, board thickness preference, finish plan, and expected order schedule with SHENGTU. We can help you review whether the wet wall installation checklist approach fits the project before procurement moves too far.