
Wet Room Board Planning for Bathrooms, Spas, and Commercial Shower Areas
Table of Contents
Direct answer: Wet room board planning should start with water exposure, drainage-adjacent walls, tile format, seams, penetrations, and repeatable inspection standards, especially in bathrooms, spas, locker rooms, and commercial shower areas.
Searches for wet room board usually come from buyers who are comparing materials, not simply reading definitions. The phrase points to a practical decision: what should sit behind or beside the finished bathroom surface, and how should that wall handle water exposure over time?
This guide treats wet room board as a project planning topic. It helps contractors, distributors, and procurement teams connect the material choice to wet-zone boundaries, tile format, openings, and site inspection. The goal is a wall that can be checked before the finish hides the work.
Clarify the Material Role First
The first step is to decide what wet room board means in the project. It may refer to a finish system, a substrate, a waterproofing layer, or a broader wet-wall package. Without that definition, purchasing teams can compare the wrong products and installers can receive incomplete instructions.
A practical starting point is the Products page, then the room-specific Bathroom Moisture Protection System page. Those internal references help connect wet room board research with Shengtu board applications.
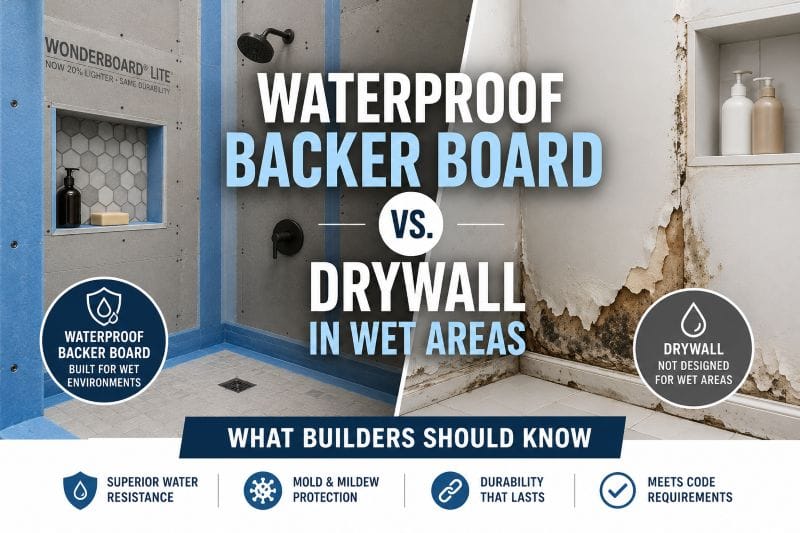
Map Water Exposure by Zone
Direct shower spray, splash, cleaning water, and mostly dry transitions should not be treated the same way. A wet room board decision should follow the room exposure map. That map helps buyers decide where stronger tile backing, waterproof details, or auxiliary materials are actually needed.
For broader context, the EPA explains moisture control as a combination of design, construction, operation, and maintenance decisions. Their moisture control guidance is useful background for wet-area planning.
Compare the Decision Points
| Decision point | What to review | Why it affects the order |
|---|---|---|
| Water exposure | Direct spray, splash, cleaning, and dry transitions | Board coverage should match real conditions. |
| Tile or finish | Large tile, small tile, panels, or mixed surfaces | The wall surface must fit the finish requirement. |
| Openings | Valves, pipes, niches, shelves, and hardware | Cuts and penetrations must be planned before installation. |
| Inspection | Photos, mockup, checklist, and handoff timing | Hidden work is easier to trust when it is documented. |
This comparison keeps wet room board from becoming a vague phrase. It turns the search into a set of buyer questions that can be answered before money is spent and before crews arrive on site.
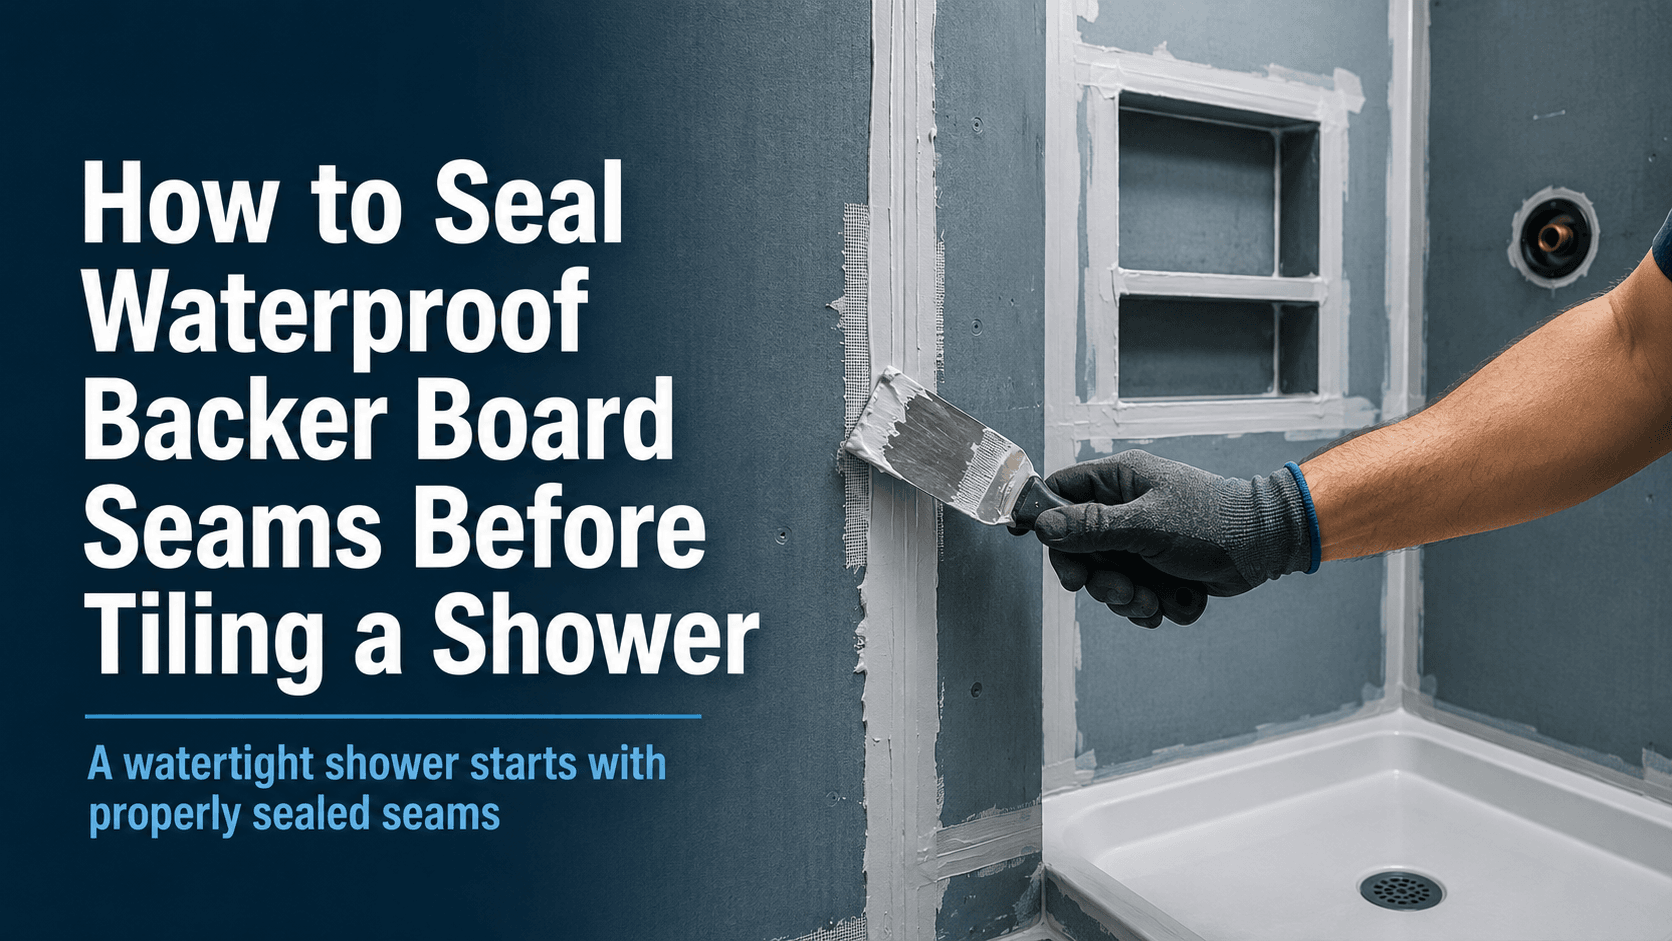
Coordinate Seams, Corners, and Penetrations
Most wet-wall problems do not start in the middle of a flat panel. They start where materials meet: inside corners, pipe openings, valve walls, benches, niches, and transition edges. A wet room board plan should explain how those points are cut, supported, detailed, and inspected.
The Tile Council of North America provides helpful tile installation FAQs for general tile assembly context. Project teams should combine that kind of industry background with the selected product guidance.
Use a Mockup for Repeated Wet Areas
Hotels, apartments, gyms, clinics, and spa rooms should not let every bathroom become a separate interpretation. One approved mockup can show how wet room board is handled around corners, openings, transitions, and the finish line. That mockup then supports consistent purchasing and installation.
For larger scopes, the Industrial and Commercial Applications page is a natural internal link. It gives readers a way to think beyond one bathroom and toward repeatable wet-area work.
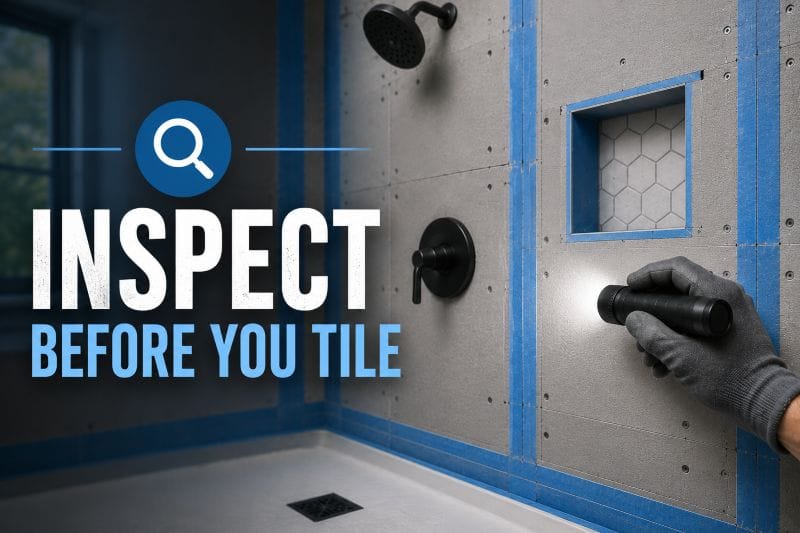
Buyer Checklist
- Define whether the material is a substrate, finish, waterproofing layer, or system component.
- Confirm room dimensions, tile area, and wet-zone boundaries.
- Mark niches, valves, shelves, seats, glass hardware, and grab bars.
- Ask which auxiliary materials are needed for seams and penetrations.
- Document the first approved wall before finish work begins.
Final Thoughts
The best wet room board decision is specific to the room. Buyers should connect the term to water exposure, tile requirements, wall support, openings, and inspection. When that planning happens early, waterproof backer board products can be discussed as part of a reliable wet-wall assembly rather than as a generic panel purchase.
FAQs About Wet Room Board Planning
What should buyers decide before choosing wet room board?
Buyers should define water exposure, tile or finish requirements, wall flatness, seams, penetrations, accessories, and inspection timing before choosing wet room board.
Is wet room board enough by itself?
No single term is enough by itself. The complete wall assembly, supporting materials, and installation responsibility must be clear.
Which details cause the most site questions?
Corners, niches, valves, pipe openings, transition edges, and hardware zones usually create the most site questions.
How can repeated rooms stay consistent?
Use one approved mockup, a short checklist, and photos before tile or finish work hides the wall.
Where should project buyers go next?
Review the Products page, the bathroom moisture protection page, and the contact page with wall dimensions and project notes.
Project buyers can share room drawings, finish schedules, and wet-zone notes through the contact page so the material discussion starts with the right context.