
How to Plan a Tile-Ready Shower Wall Around Waterproof Backer Board
How to Plan a Tile-Ready Shower Wall Around Waterproof Backer Board is a practical topic for homeowners planning a shower remodel because the wall behind tile determines how confidently the finished space can handle water, cleaning, and daily use. The focus is not on selling a single detail as a miracle fix. It is on using waterproof backer board in the right places, with the right checks, so the visible finish has a better foundation.
The search intent behind this guide is simple: turn a shower idea into a buildable wall plan before tile is ordered. Readers usually do not need another broad definition. They need to know what to check, what to ask, and how a waterproof backer board choice changes real decisions on site.
Questions pour définir la direction
Avant de sélectionner un panneau de support étanche, l'équipe du projet doit ralentir et définir l'état de la pièce. Les questions suivantes aident à faire passer la conversation de l'intérêt général du produit à une portée claire de la zone humide.
- Where will water concentrate?
- Which walls carry fixtures or niches?
- How flat must the surface be for the tile format?
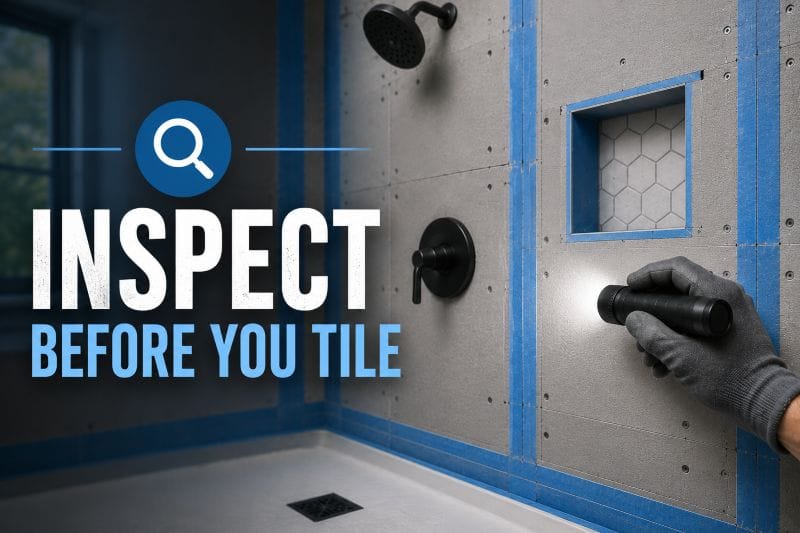
- What will be inspected before tile begins?
| Décision | Why it matters before tile |
|---|---|
| Tile size | Shows how flat the wall must be |
| Niche location | Affects board cuts, framing, and grout lines |
| Fixture wall | Creates penetrations that need careful planning |
| Transition edge | Controls how wet and dry walls meet |
Start With the Finished Tile, Then Work Backward
A good shower plan starts long before tile is opened. The board layout determines where seams land, how corners are treated, and whether the tile installer receives a wall that is flat enough to work with. Choosing a waterproof backer board at this stage keeps the finished design connected to practical jobsite decisions. Start With the Finished Tile, Then Work Backward is where that planning becomes visible. That is why the conversation should stay close to the room, the water path, and the tile finish rather than drifting into vague product language.
When homeowners choose tile first and wall preparation later, small conflicts appear quickly. A niche may interrupt a grout line, a valve may sit too close to a board edge, or a transition may look improvised. Planning around waterproof backer board helps the installer solve those details while the wall is still open. Start With the Finished Tile, Then Work Backward is where that planning becomes visible. When the site team understands this point, the waterproof backer board becomes a planning tool as much as a material choice.
The most useful drawing is often a simple wet-wall map. Mark the shower head, valve, curb or entry, bench, niche, and any glass line. The map shows where waterproof backer board is carrying the greatest responsibility and where the crew should slow down before covering the wall. Start With the Finished Tile, Then Work Backward is where that planning becomes visible. For homeowners planning a shower remodel, this matters because the decision is made once but affects every later trade that touches the room.
Map the Wettest Lines Before Boards Are Cut
When homeowners choose tile first and wall preparation later, small conflicts appear quickly. A niche may interrupt a grout line, a valve may sit too close to a board edge, or a transition may look improvised. Planning around waterproof backer board helps the installer solve those details while the wall is still open. Map the Wettest Lines Before Boards Are Cut is where that planning becomes visible. When the site team understands this point, the waterproof backer board becomes a planning tool as much as a material choice.
The most useful drawing is often a simple wet-wall map. Mark the shower head, valve, curb or entry, bench, niche, and any glass line. The map shows where waterproof backer board is carrying the greatest responsibility and where the crew should slow down before covering the wall. Map the Wettest Lines Before Boards Are Cut is where that planning becomes visible. For homeowners planning a shower remodel, this matters because the decision is made once but affects every later trade that touches the room.
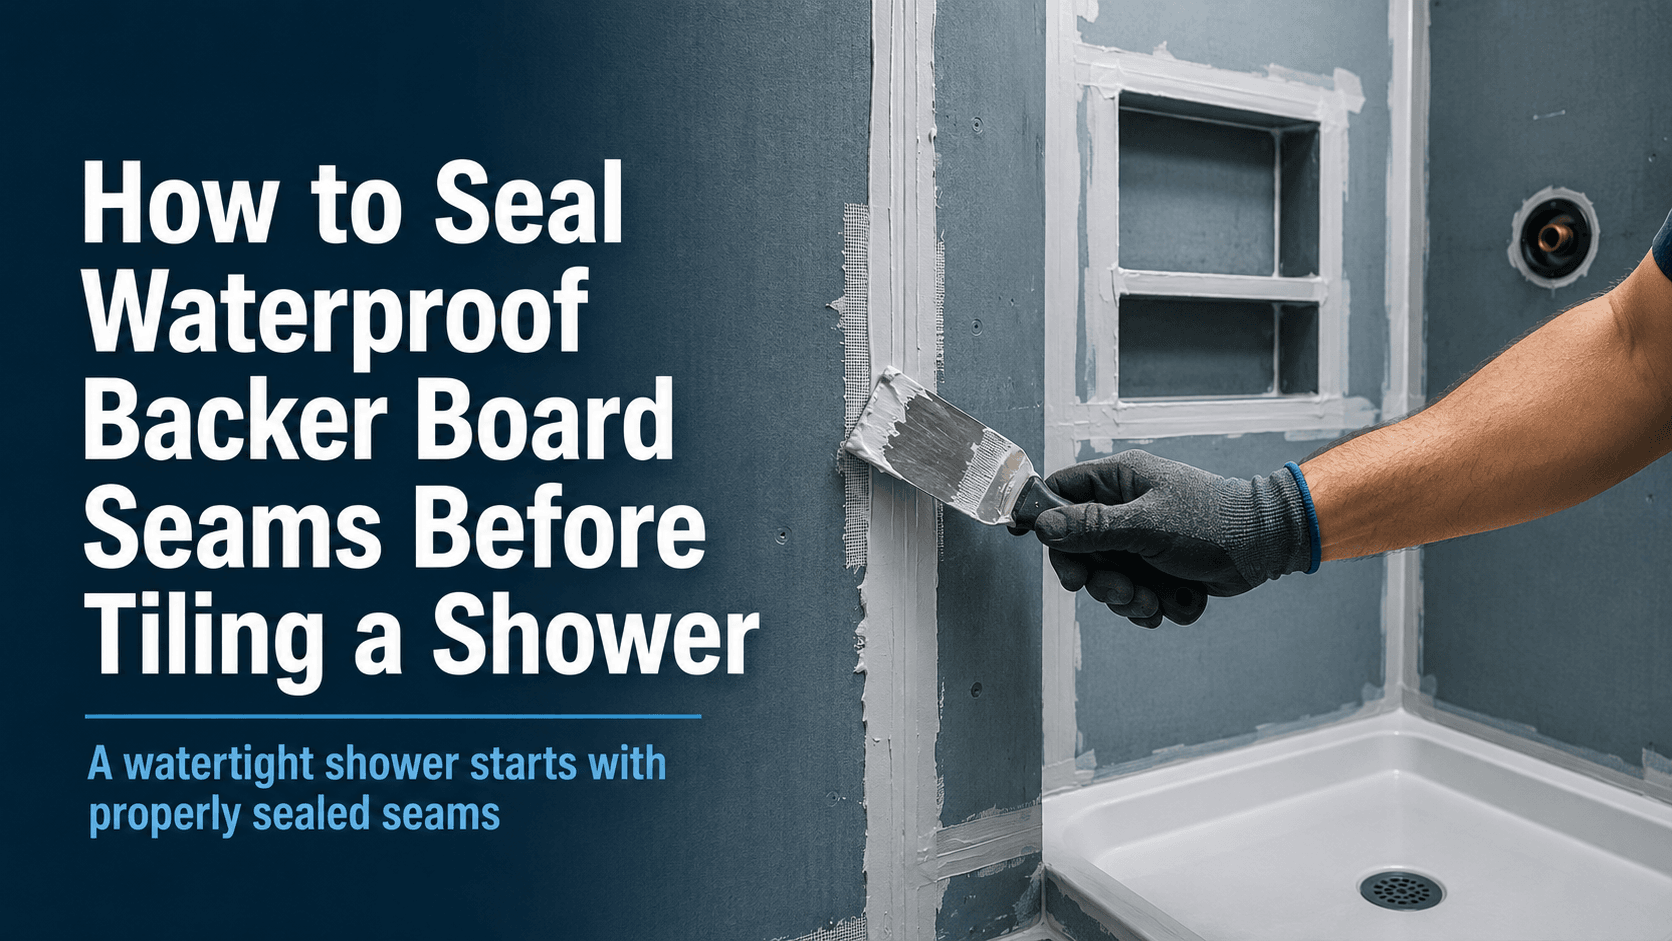
A good shower plan starts long before tile is opened. The board layout determines where seams land, how corners are treated, and whether the tile installer receives a wall that is flat enough to work with. Choosing a waterproof backer board at this stage keeps the finished design connected to practical jobsite decisions. Map the Wettest Lines Before Boards Are Cut is where that planning becomes visible. In this section, the practical goal is to make the wall easier to inspect before the finish hides the work.
Coordinate Niches, Valves, and Edges Early
The most useful drawing is often a simple wet-wall map. Mark the shower head, valve, curb or entry, bench, niche, and any glass line. The map shows where waterproof backer board is carrying the greatest responsibility and where the crew should slow down before covering the wall. Coordinate Niches, Valves, and Edges Early is where that planning becomes visible. When the site team understands this point, the waterproof backer board becomes a planning tool as much as a material choice.
A good shower plan starts long before tile is opened. The board layout determines where seams land, how corners are treated, and whether the tile installer receives a wall that is flat enough to work with. Choosing a waterproof backer board at this stage keeps the finished design connected to practical jobsite decisions. Coordinate Niches, Valves, and Edges Early is where that planning becomes visible. For homeowners planning a shower remodel, this matters because the decision is made once but affects every later trade that touches the room.
When homeowners choose tile first and wall preparation later, small conflicts appear quickly. A niche may interrupt a grout line, a valve may sit too close to a board edge, or a transition may look improvised. Planning around waterproof backer board helps the installer solve those details while the wall is still open. Coordinate Niches, Valves, and Edges Early is where that planning becomes visible. In this section, the practical goal is to make the wall easier to inspect before the finish hides the work.
Use the Board Layout as a Quality Control Tool
A good shower plan starts long before tile is opened. The board layout determines where seams land, how corners are treated, and whether the tile installer receives a wall that is flat enough to work with. Choosing a waterproof backer board at this stage keeps the finished design connected to practical jobsite decisions. Use the Board Layout as a Quality Control Tool is where that planning becomes visible. When the site team understands this point, the waterproof backer board becomes a planning tool as much as a material choice.
When homeowners choose tile first and wall preparation later, small conflicts appear quickly. A niche may interrupt a grout line, a valve may sit too close to a board edge, or a transition may look improvised. Planning around waterproof backer board helps the installer solve those details while the wall is still open. Use the Board Layout as a Quality Control Tool is where that planning becomes visible. For homeowners planning a shower remodel, this matters because the decision is made once but affects every later trade that touches the room.
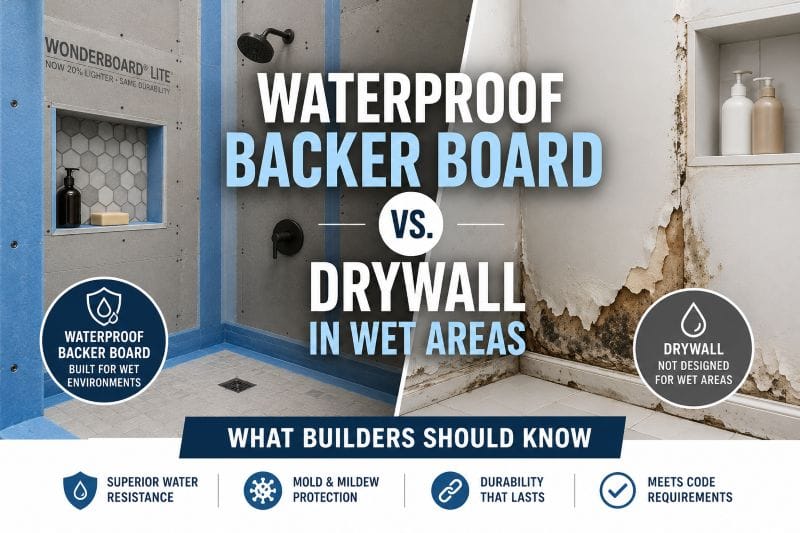
The most useful drawing is often a simple wet-wall map. Mark the shower head, valve, curb or entry, bench, niche, and any glass line. The map shows where waterproof backer board is carrying the greatest responsibility and where the crew should slow down before covering the wall. Use the Board Layout as a Quality Control Tool is where that planning becomes visible. In this section, the practical goal is to make the wall easier to inspect before the finish hides the work.
Buying Notes for a Cleaner Renovation
When homeowners choose tile first and wall preparation later, small conflicts appear quickly. A niche may interrupt a grout line, a valve may sit too close to a board edge, or a transition may look improvised. Planning around waterproof backer board helps the installer solve those details while the wall is still open. Buying Notes for a Cleaner Renovation is where that planning becomes visible. In this section, the practical goal is to make the wall easier to inspect before the finish hides the work.
The most useful drawing is often a simple wet-wall map. Mark the shower head, valve, curb or entry, bench, niche, and any glass line. The map shows where waterproof backer board is carrying the greatest responsibility and where the crew should slow down before covering the wall. Buying Notes for a Cleaner Renovation is where that planning becomes visible. The detail does not need to be complicated, but it should be deliberate enough that the crew can repeat it without improvising.
A good shower plan starts long before tile is opened. The board layout determines where seams land, how corners are treated, and whether the tile installer receives a wall that is flat enough to work with. Choosing a waterproof backer board at this stage keeps the finished design connected to practical jobsite decisions. Buying Notes for a Cleaner Renovation is where that planning becomes visible. That is why the conversation should stay close to the room, the water path, and the tile finish rather than drifting into vague product language.
Comment transformer les conseils en un dossier d'achat
Un dossier d'achat utile doit nommer le type de pièce, la finition, le niveau d'exposition, l'attente d'épaisseur de la planche, les besoins en accessoires et le point d'inspection. Si ces détails manquent, le panneau de support étanche peut toujours être un bon produit, mais l'équipe du site devra combler trop de lacunes lors de l'installation.
L'acheteur n'a pas besoin d'écrire un long manuel technique Une courte note qui décrit où le panneau de support étanche sera utilisé, comment il rencontre les surfaces adjacentes et quelles zones nécessitent une attention particulière peut éviter de nombreuses questions évitables.
Erreurs courantes à éviter
- Choisir une carte de support étanche une fois la disposition des carreaux déjà fixée.
- Traiter toutes les parois humides et sèches comme si elles avaient la même exposition.
- Ignorer les pénétrations, les niches, les bancs ou le support de fixation jusqu'au jour de l'installation.
- Sauter les photos et l'inspection avant que le carrelage ne cache la préparation du mur.
L'erreur la plus coûteuse n'est généralement pas la planche elle-même. Il s'agit de la réaction en chaîne créée lorsque le panneau de support étanche est choisi sans suffisamment d'informations sur le mur, la tuile et la façon dont l'eau se déplacera dans la pièce.
Références externes utiles
Pour un contexte plus large sur la terminologie des carreaux de céramique, les lecteurs peuvent consulter l'aperçu des carreaux de céramique sur https ://en.wikipedia.org/wiki/Ceramic_tile Pour des informations générales sur les concepts d'humidité du bâtiment, le Whole Building Design Guide est une source éducative utile sur https ://www.wbdg.org/resources/moisture-management Ces références soutiennent une compréhension générale et doivent être lues parallèlement aux instructions du produit et aux exigences du code local pour le projet spécifique.
Conclusion
Un bon travail sur zone humide est généralement silencieux Cela ne dépend pas d'allégations dramatiques ou d'un langage compliqué Cela dépend d'un substrat clair, d'une disposition soignée, de transitions sensées et d'installateurs qui comprennent pourquoi le panneau de support étanche est utilisé dans cette pièce.
La conversation sur le produit devrait inclure les personnes qui touchent le mur ensuite Les installateurs de carreaux, les plombiers, les installateurs de verre et les superviseurs voient tous des risques différents Lorsqu'ils s'accordent sur la disposition du panneau de support étanche avant le début des travaux, la pièce finie est plus facile à coordonner.