
Waterproof Backer Board for Mop Sink Walls : Planning Janitor Closet Wet Areas
Les murs des évier à vadrouille subissent plus d'abus que ce à quoi s'attendent de nombreuses équipes. Les seaux heurtent la surface, nettoyant les projections d'eau au-dessus du bassin, et les ouvertures des tuyaux se trouvent à proximité de mouillages répétés. Une planche de support étanche donne au carrelage ou à une autre finition murale approuvée une base plus appropriée dans cette zone de service, mais la disposition du plateau doit être planifiée avant que les équipes ne décident où arrêter le carrelage, placer les accessoires ou fermer le mur.
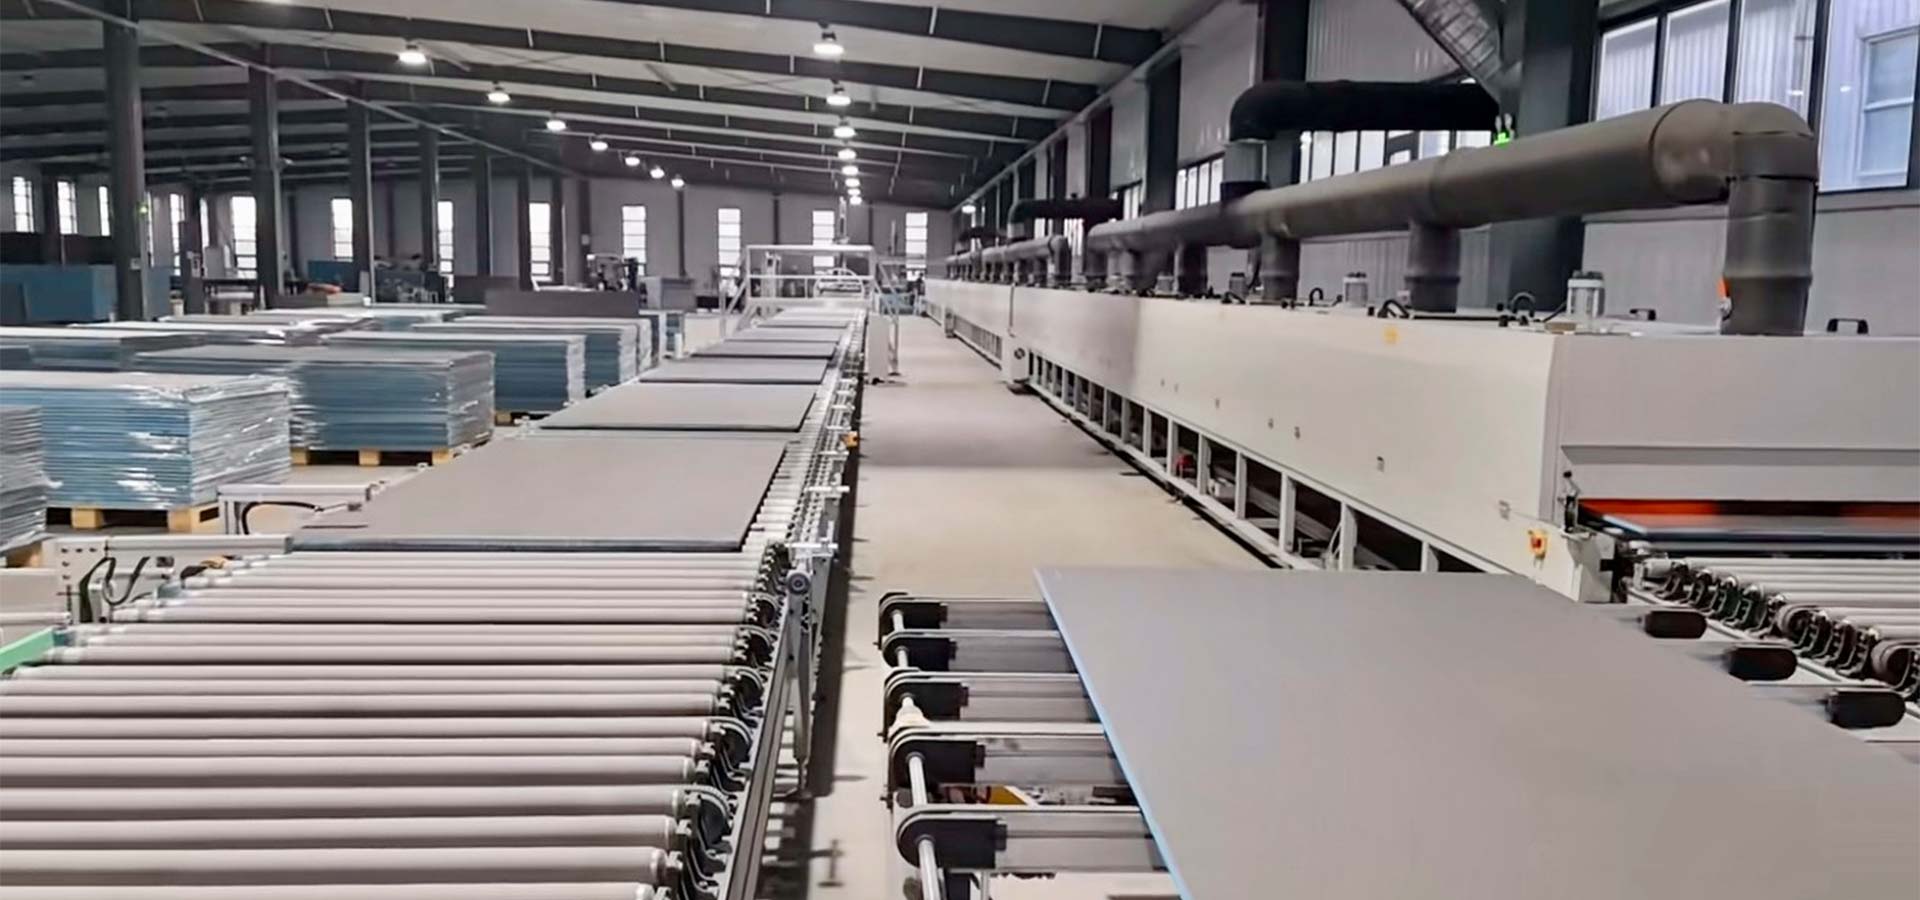
Pourquoi cette zone murale nécessite des décisions précoces
Les placards des concierges sont petits, mais ils concentrent l'eau, les produits chimiques, l'impact, le stockage et le trafic d'entretien dans un coin serré. Si les murs des évier de vadrouille sont traités comme des cloisons sèches ordinaires, l'équipe de finition peut découvrir trop tard que le mur a besoin d'un support plus solide, d'un traitement plus propre des coutures ou d'une meilleure transition au bord du bassin.
L’objectif n’est pas de surconstruire toute la pièce. L’objectif est d’identifier les surfaces qui reçoivent régulièrement des outils de nettoyage anti-éclaboussures, de rinçage ou d’humidité, puis de préparer ces murs d’évier à vadrouille comme un assemblage délibéré de zones humides.
Définissez la zone humide avant les quantités de panneaux
Commencez par marquer le mur du fond du bassin, les retours latéraux, le mur du robinet et les lieux de stockage à proximité Les murs des évier à vadrouille ont souvent besoin d'une protection au-delà du contour exact du bassin, car les poignées, les tuyaux et les seaux peuvent projeter de l'eau latéralement ou vers le haut pendant le nettoyage quotidien.
Pour l'achat, cette carte précoce aide l'équipe à commander le bon montant de panneau de support étanche sans mélanger les chutes dans les zones critiques de splash Il rend également les besoins accessoires visibles avant que l'installateur ne se trouve dans le placard avec des panneaux coupés et des questions sans réponse.
Choisissez la portée du tableau par niveau d'exposition
Toutes les surfaces d'un placard de concierge n'ont pas besoin du même traitement. Utilisez l'exposition attendue pour décider où les murs de l'évier de vadrouille ont besoin d'un support de zone humide et où la construction de murs standard peut rester acceptable dans les documents de projet.
| Zone murale | Exposition commune | Note d'urbanisme |
|---|---|---|
| Mur arrière du bassin | Contact direct avec les éclaboussures et le tuyau | Utilisez un support de zone humide et gardez les coutures hors de la ligne la plus durement touchée lorsque cela est possible. |
| Retours latéraux | Éclaboussures latérales et impact du seau | Étendez la zone protégée suffisamment loin pour couvrir un véritable mouvement de nettoyage, et pas seulement la largeur du bassin. |
| Ouvertures de tuyaux et de robinets | Pénétrations plus mouillage répété | Découpes, colliers et accès au mastic pré-planifiés avant le début de la finition des carreaux ou des panneaux. |
| Mur de rangement supérieur | Outils humides et contacts occasionnels | Passez en revue les crochets, les étagères et les supports afin que les attaches ne créent pas de points faibles. |
Planifiez les coutures, les coins et les ouvertures de tuyaux
Les coutures méritent une attention particulière car les parois des évier à vadrouille sont souvent étroites Une disposition précipitée peut placer les joints directement derrière le robinet, à côté de la lèvre du bassin, ou dans un coin intérieur difficile à inspecter Placez les planches pleines là où les éclaboussures sont les plus probables, puis réservez des pièces plus petites pour les zones à faible risque.
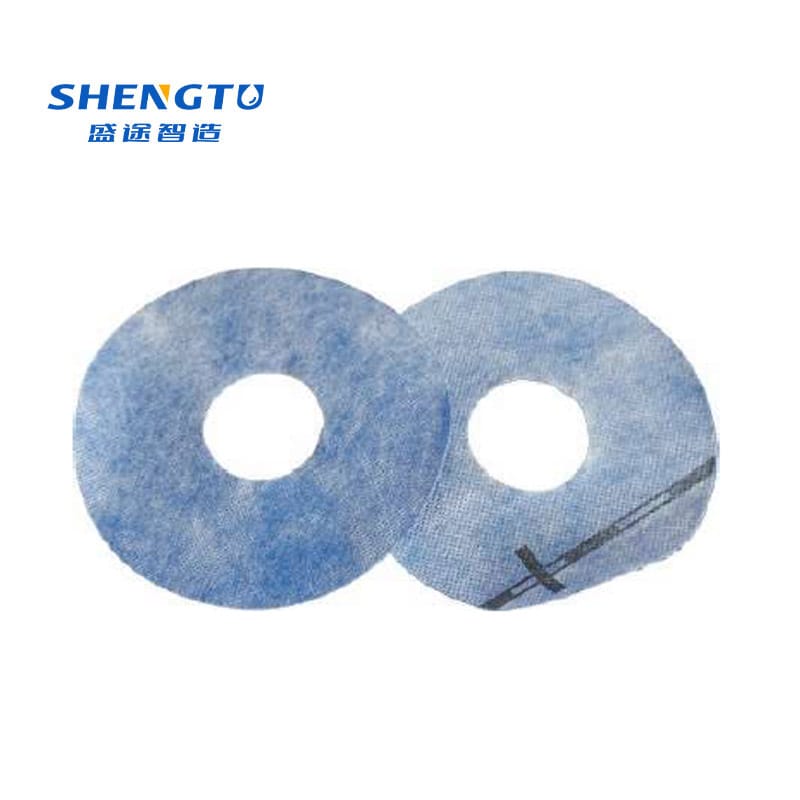
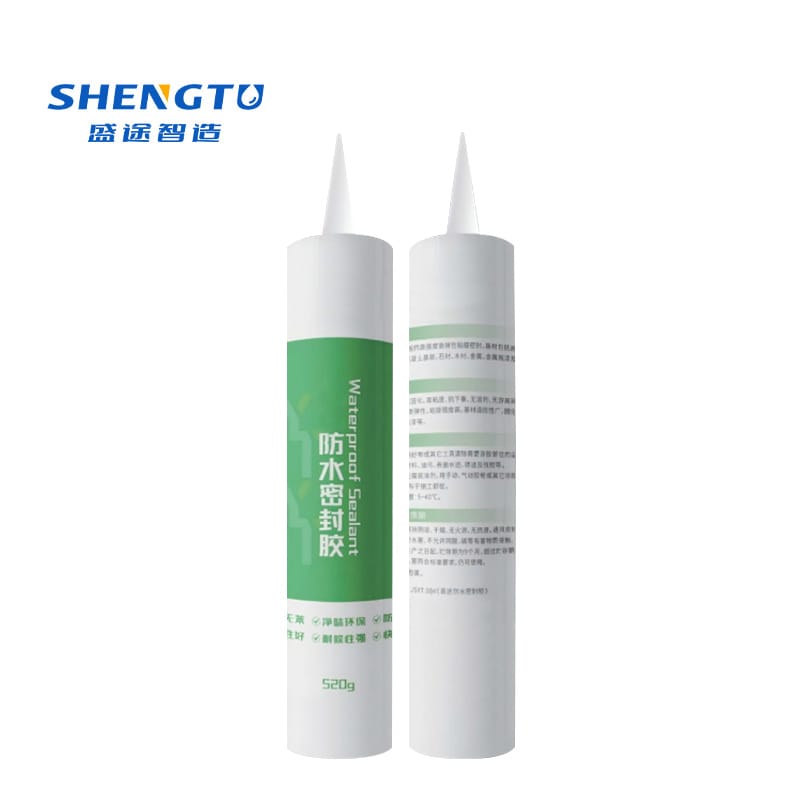
Pour les détails de couture et de coin, coordonne les accessoires compatibles tels que ruban adhésif en maille, tissu d'étanchéité imperméable, et scellant imperméable à l'eau de construction. Autour des conduites d'alimentation ou des vannes, colliers de tuyaux étanches peut aider l'équipe à traiter les ouvertures comme des détails prévus plutôt que comme des coupes de dernière minute.
Protégez le bord inférieur et la transition du sol
La partie inférieure des murs de l'évier de vadrouille voit le contact du seau, les éclaboussures debout et les résidus de nettoyage Avant le début des travaux de finition, confirmez comment la planche se termine près du sol, du bassin, de la bordure ou des détails de base. L'objectif est une transition propre qui peut être inspectée et entretenue, et non un bord caché enfoui derrière un matériau de finition inégal.
Si la pièce utilise du carrelage, assurez-vous que la disposition des carreaux et la disposition des supports sont coordonnées Si une autre finition approuvée est spécifiée, confirmez la compatibilité avec la surface du panneau et le plan de scellement. Les murs de l'évier à vadrouille doivent être examinés dans le cadre de l'assemblage complet de la pièce, y compris les pratiques de ventilation, de séchage et de nettoyage.
Coordonner avec les nettoyeurs, les plombiers et les installateurs de tuiles
Les murs des évier de vadrouille commerciaux sont touchés par plus d'un commerce Les plombiers établissent des emplacements difficiles, les installateurs de carreaux ont besoin d'une surface plate et stable et les équipes d'installation peuvent ajouter des racks, des crochets ou des supports chimiques après la remise. Un court examen de coordination peut empêcher les attaches et les ouvertures d'atterrir dans les endroits les plus faibles.
Pour les installations plus grandes, connectez le détail du placard à la norme plus large de zone humide utilisée dans tout le bâtiment. Le applications industrielles et commerciales page est une référence interne utile lorsque les murs de l'évier de vadrouille font partie d'un hôtel, d'une école, d'une salle de sport, d'un restaurant ou d'une zone de service à l'arrière de la maison.
Que vérifier avant la finition du carrelage ou du mur
Avant que la finition ne recouvre le support, promenez le placard du concierge avec les dessins et les instructions sur le produit ouverts Confirmez que les murs de l'évier de vadrouille sont suffisamment plats pour la finition sélectionnée, les bords de la planche sont soutenus, les coutures sont traitées, les ouvertures des tuyaux sont propres et la zone d'éclaboussure correspond à l'utilisation réelle plutôt qu'à une supposition vue en plan.
- La portée du plateau correspond à la zone d'éclaboussure et d'impact marquée.
- Les coutures, les coins et les pénétrations sont visibles pour inspection.
- Les emplacements des fixations n'entrent pas en conflit avec les futurs crochets, supports ou garnitures.
- Les bords inférieurs et les transitions de bassin sont coordonnés avant la fin des travaux.
- Les planches installées sont maintenues propres, sèches et protégées jusqu'au début du prochain échange.
Liens de spécifications utiles
Pour la planification des produits, examiner le produits page, le cas d'application page, et le page contact lorsque le projet a besoin d'aide pour confirmer les quantités de planches ou la portée des accessoires pour les murs de l'évier de vadrouille.
Pour un arrière-plan neutre sur la conception de bâtiments sensibles à l'humidité, WBDG fournit une référence générale sur gestion de l'humidité. Utilisez-le comme contexte général, puis suivez le code local, les spécifications du projet et les instructions du produit pour l'assemblage réel du placard du concierge.
FAQ sur les murs de l'évier de vadrouille
Les murs d'évier de vadrouille ont-ils toujours besoin d'un panneau de support étanche ?
Pas toujours La décision dépend des éclaboussures attendues, des routines de nettoyage, du type de finition et des exigences du projet Dans les zones où le mouillage est répété, le panneau de support étanche est souvent un choix pratique de support.
Jusqu'où doit s'étendre la protection autour d'un évier de vadrouille ?
Planifiez à partir d'une utilisation réelle, pas seulement les dimensions du bassin Incluez les éclaboussures latérales, le mouvement du tuyau, la manipulation du seau et tout accessoire mural pouvant apporter de l'humidité au-delà du contour de l'évier.
Quels détails sont les plus faciles à manquer ?
Les ouvertures de tuyaux, les coins intérieurs, les bords inférieurs et les futures attaches de rack sont des points faibles courants. Ils doivent être localisés et vérifiés avant que la finition du carrelage ou autre mur ne cache le support.
La même approche peut-elle fonctionner dans des locaux de service plus grands ?
Oui, mais la zone protégée devra peut-être s'agrandir. Les pièces plus grandes peuvent inclure des enrouleurs de tuyaux, des drains de sol, des étagères ou des équipements de nettoyage qui modifient l'exposition aux parois humides.
Que doivent confirmer les acheteurs avant de commander ?
Confirmez la quantité de planche, la portée des accessoires, les emplacements d'ouverture, la compatibilité de finition et les conditions de stockage. Ces contrôles aident les murs des évier de vadrouille à passer d'une disposition grossière à une finition de travail avec moins de surprises.
Réflexions finales
Les murs de l'évier à vadrouille fonctionnent mieux lorsque la zone humide est définie tôt, la disposition du plateau évite les coutures inconfortables et les ouvertures sont traitées comme des détails prévus. Gardez le placard du concierge pratique : protégez les surfaces qui reçoivent de véritables éclaboussures et impacts, inspectez le support avant de terminer le travail et coordonnez les accessoires avant que le mur ne soit fermé.