
Tablero de respaldo impermeable para paredes de ducha de vestuarios: planificación de áreas de azulejos antes de la instalación
Las paredes de ducha de los vestuarios necesitan más planificación que un simple fondo de azulejos. El agua puede llegar a la pared desde duchas, áreas de cambio, rutinas de limpieza y tráfico diario, por lo que el respaldo detrás de las baldosas debe seleccionarse y detallarse antes de que los equipos comiencen a cortar tablas. Una tabla de respaldo impermeable ayuda a crear una superficie lista para los azulejos en las zonas húmedas, pero solo cuando las costuras, aberturas, transiciones y manejo del sitio se coordinan como parte de un paquete de pared.
Tabla de contenidos
Comience con el mapa de salpicaduras
El primer paso es marcar dónde aterriza realmente el agua. En las paredes de ducha de los vestuarios, las áreas de mayor riesgo suelen ser los puestos de ducha, las zonas de enjuague compartidas, los retornos de las paredes cerca de los bancos y cualquier sección de pared baja que se limpie con agua frecuente. Trate estas zonas de manera diferente a las paredes secas para cambiadores o los nichos de almacenamiento.
Esta planificación también ayuda a evitar la construcción excesiva. Es posible que un equipo de proyecto no necesite paneles de área húmeda en todas las superficies interiores, pero las paredes de la ducha del vestuario no deben depender de paneles de yeso comunes detrás de los azulejos donde se espera una humectación repetida. La guía de control de humedad de la EPA para edificios plantea el mismo punto básico: identificar áreas húmedas y utilizar materiales que toleren la humectación y el secado repetidos.
Haga coincidir el alcance del tablero con la zona de
Para proyectos comerciales, una tabla de zonas claras suele ser más fácil de revisar que una nota vaga que dice utilizar respaldo en áreas húmedas cuando sea necesario. La siguiente tabla ofrece a los gerentes e instaladores de proyectos una forma sencilla de separar las paredes de la ducha del vestuario de las superficies cercanas que tal vez solo necesiten una preparación interior estándar.
| Zona de pared | Exposición típica | Nota de planificación |
|---|---|---|
| Paredes de ducha | Pulverización directa y humectación repetida | Utilice una tabla de soporte impermeable y defina el tratamiento de la costura antes de la baldosa. |
| Vuelve la zona de enjuague | Salpicaduras, agua de limpieza y usuarios mojados que se mueven | Extienda el respaldo del área húmeda lo suficiente como para que las transiciones de los azulejos no se asienten en la línea de salpicadura. |
| Banco y bordes cambiantes | Limpieza de contacto húmedo, impacto y mantenimiento | Confirme el soporte, las ubicaciones de los sujetadores y la protección del tablero antes de que lleguen los acabados. |
| Paredes de taquillas secas | Humedad limitada a menos que cambien las prácticas de limpieza | Revise si realmente se necesita construcción de azulejos, tableros o paredes estándar. |
Detalle las costuras antes de que las tripulaciones cierren la pared
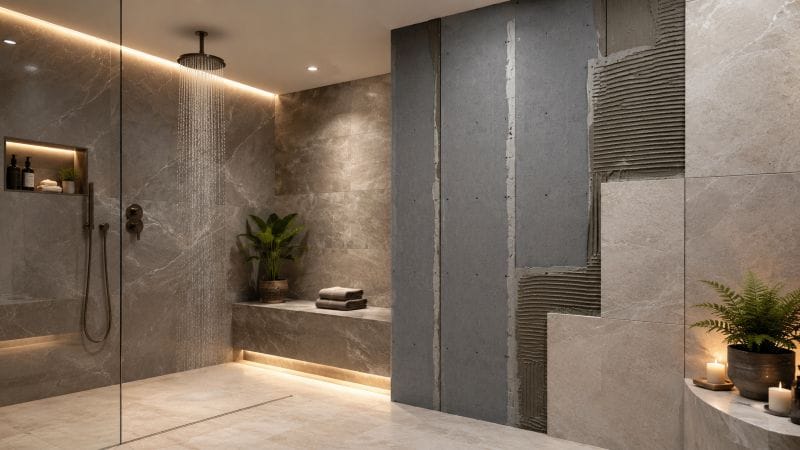
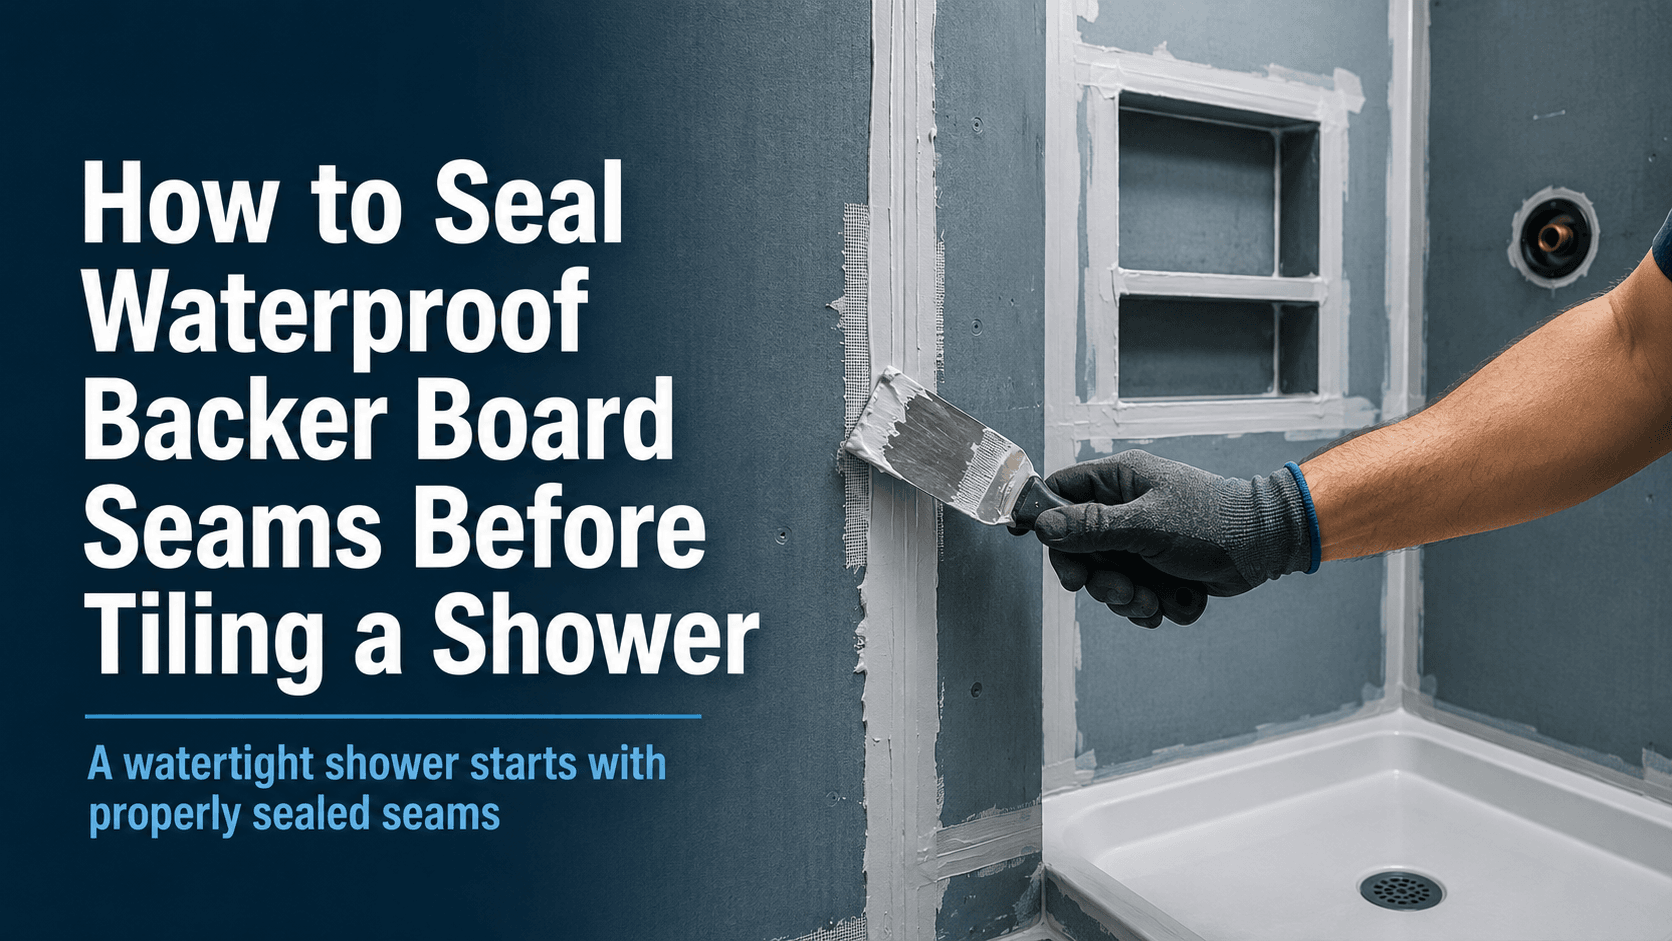
Las costuras son pequeñas en el dibujo y obvias en el sitio. En las paredes de ducha de los vestuarios, las juntas de los tableros deben ubicarse donde puedan reforzarse, inspeccionarse y cubrirse sin dejar bordes frágiles en las esquinas o líneas de fijación. Un diseño de tablero que parezca eficiente en papel aún puede crear tiras incómodas si ignora el tamaño de los azulejos, las esquinas interiores o la ruta de penetración de las plomería.
Utilice accesorios compatibles como cinta de malla autoadhesiva, tejido sellador impermeable, o sellador donde el detalle del proyecto requiere refuerzo. El punto importante es definir el método antes de que comience el trabajo con losetas, no después de que un instalador encuentre una esquina expuesta.
Trate las aperturas como cortes planificados
Las paredes de la ducha de los vestuarios a menudo incluyen válvulas de ducha, salidas de tuberías, desagües, conexiones de mangueras de limpieza y, a veces, hardware de control. Cada abertura interrumpe la superficie del tablero. Si esos cortes se dejan a criterio de campo, el resultado pueden ser bordes irregulares, espacios de gran tamaño o un cronograma de finalización que avanza antes de que se revise la apertura.
Pida a los equipos de plomería y azulejos que confirmen los lugares de apertura antes de cortar. Alrededor de tuberías, collares de tubería impermeables se puede incluir en el plano de accesorios donde el detalle requiere una penetración reforzada. Esto hace que las paredes de la ducha del vestuario sean más fáciles de inspeccionar antes de que la superficie quede oculta por los azulejos.
Coordine bancos, casilleros, ganchos y tabiques
Un vestuario no es sólo una ducha. Los bancos, ganchos, tabiques, puntos de agarre y bordes de almacenamiento pueden afectar la pared detrás de las baldosas. Si el hardware se montará a través de baldosas, el marco o el soporte de respaldo deben confirmarse antes de instalar el tablero de respaldo impermeable.
Para paredes de ducha de vestuario cerca de tabiques o bancos, preste especial atención a las esquinas interiores y bordes inferiores. Estas áreas son fáciles de golpear durante la limpieza y el uso diario, y también son donde el agua puede permanecer más tiempo de lo esperado. Un simple boceto que muestra los bordes de los tableros, las ubicaciones de los accesorios y las zonas de hardware puede evitar muchas preguntas de campo.
Proteja la placa instalada antes de que comience el mosaico
En trabajos comerciales ocupados, las paredes de la ducha del vestuario se pueden revestir antes de que los equipos de azulejos estén listos. Proteja el tablero instalado de materiales almacenados, herramientas afiladas, daños al tráfico y polvo que pueden interferir con la preparación posterior de la superficie. Una buena pared de zona húmeda aún puede convertirse en un problema si se trata como respaldo temporal para otros oficios.
Antes de la transferencia, verifique que los sujetadores estén asentados correctamente, que las caras del tablero estén limpias, que los bordes dañados estén direccionados y que el tablero permanezca plano. Si el proyecto lo utiliza sellador impermeable para construcción, confirme a dónde pertenece en detalle en lugar de aplicarlo como solución general para las paredes de la ducha del vestuario.
Lista de verificación previa a los azulejos para paredes de ducha de vestuarios
- Confirme qué paredes son zonas de rociado directo, salpicaduras, limpieza y secas.
- Revise el grosor y la acumulación de los tableros en las transiciones de los azulejos, los marcos de las puertas y las líneas divisorias.
- Marque las ubicaciones de las tuberías, válvulas, drenajes, bancos, ganchos y puntos de agarre antes de cortar las tablas.
- Inspeccione las costuras, esquinas y penetraciones mientras aún sean visibles.
- Mantenga las superficies de los tableros limpias y protegidas hasta que comience la instalación de los azulejos.
- Registre cualquier cambio de campo para que los equipos de mantenimiento posteriores comprendan el ensamblaje de la pared.
Enlaces de especificaciones útiles
Para la superficie principal de la pared húmeda, revise el Shengtu tablero de respaldo impermeable página de producto. Para una planificación más amplia del proyecto, el casos de aplicación página y página de contacto son próximos pasos útiles cuando un equipo de proyecto necesita confirmar las cantidades de tableros, el alcance de los accesorios o los detalles de las paredes húmedas de las paredes de la ducha del vestuario.
Para obtener una referencia neutral sobre el control de la humedad, consulte la guía de la EPA en control de humedad en el diseño y construcción de edificios. Úselo como fondo general, luego siga los dibujos del proyecto, los requisitos del código local y las instrucciones del producto para las paredes reales de la ducha del vestuario.
Pensamientos finales
Las paredes de la ducha del vestuario son más fáciles de manejar cuando las zonas húmedas, los accesorios, las aberturas y las comprobaciones de traspaso se resuelven temprano. Elija el tablero impermeable donde se espera que se humedezca repetidamente, proteja la superficie instalada antes de que comiencen las baldosas y haga que cada costura o penetración sea lo suficientemente visible como para inspeccionarla antes de que desaparezca detrás de la pared terminada.