
How to Inspect Waterproof Backer Board Before Approving a Wet-Area Tile Installation
Table of Contents
How to Inspect Waterproof Backer Board Before Approving a Wet-Area Tile Installation focuses on one practical search intent: provide a practical pre-tile inspection process for wet-area wall preparation. The article is written for site supervisors, project managers, and owners approving tile work who need clear wet-area planning before the wall is covered.
A waterproof backer board should not be treated as an isolated product choice. It works best when it is connected to pre-tile inspection, room layout, finish selection, and inspection timing. That is the difference between a generic material note and a useful project decision.
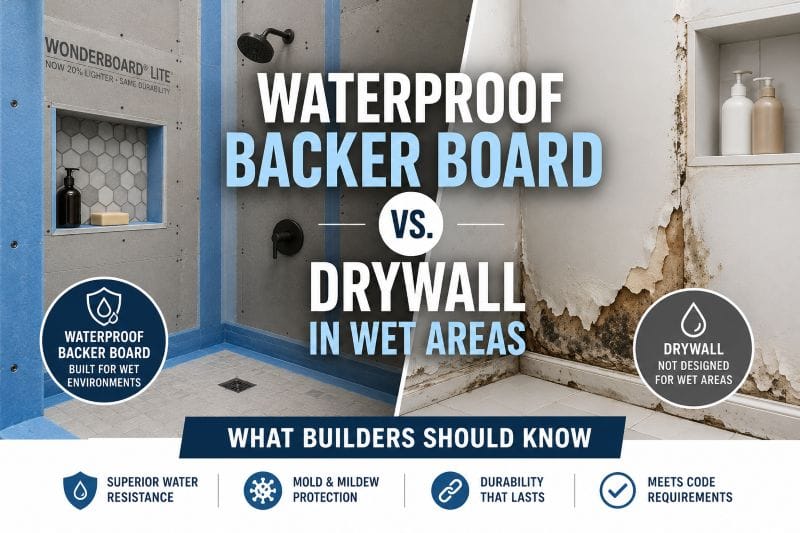
Questions to Answer First
Before ordering or installing a waterproof backer board, the project team should answer these questions in plain language. Clear answers reduce confusion for buyers, supervisors, and installers.
- Which walls or sections receive direct water, splash, humidity, or frequent cleaning?
- Where do fixtures, niches, benches, valves, or transitions interrupt the wall?
- What does the tile installer need to see before finish work begins?
- How will the hidden board work be documented before it is covered?
| Planning item | Why it matters |
|---|---|
| Water exposure | Defines where wet-area board is needed |
| Finish type | Shows the flatness and stability expected from the wall |
| Penetrations | Identifies openings that need careful cuts and inspection |
| Documentation | Preserves hidden work before tile covers it |
Inspect the Wall While It Is Still Visible
Inspect the Wall While It Is Still Visible should be decided before the finish work begins. For site supervisors, project managers, and owners approving tile work, the main issue is whether the waterproof backer board supports the exact wall condition, not whether the product sounds useful in general. The detail has to match water exposure, fixture placement, and the way tile or another finish will meet the wall.
This part of the work is where vague planning usually becomes visible. If inspect the wall while it is still visible is left until the installation day, the crew may have to adjust cuts, transitions, or openings without enough time. A waterproof backer board is more effective when those decisions are made while the wall is still open.
The practical check is simple: can another trade look at the wall and understand what has been prepared? When inspect the wall while it is still visible is documented clearly, the waterproof backer board installation becomes easier to inspect before it is hidden behind tile.
Check Fastening, Edges, and Flatness
This part of the work is where vague planning usually becomes visible. If check fastening, edges, and flatness is left until the installation day, the crew may have to adjust cuts, transitions, or openings without enough time. A waterproof backer board is more effective when those decisions are made while the wall is still open.
The practical check is simple: can another trade look at the wall and understand what has been prepared? When check fastening, edges, and flatness is documented clearly, the waterproof backer board installation becomes easier to inspect before it is hidden behind tile.
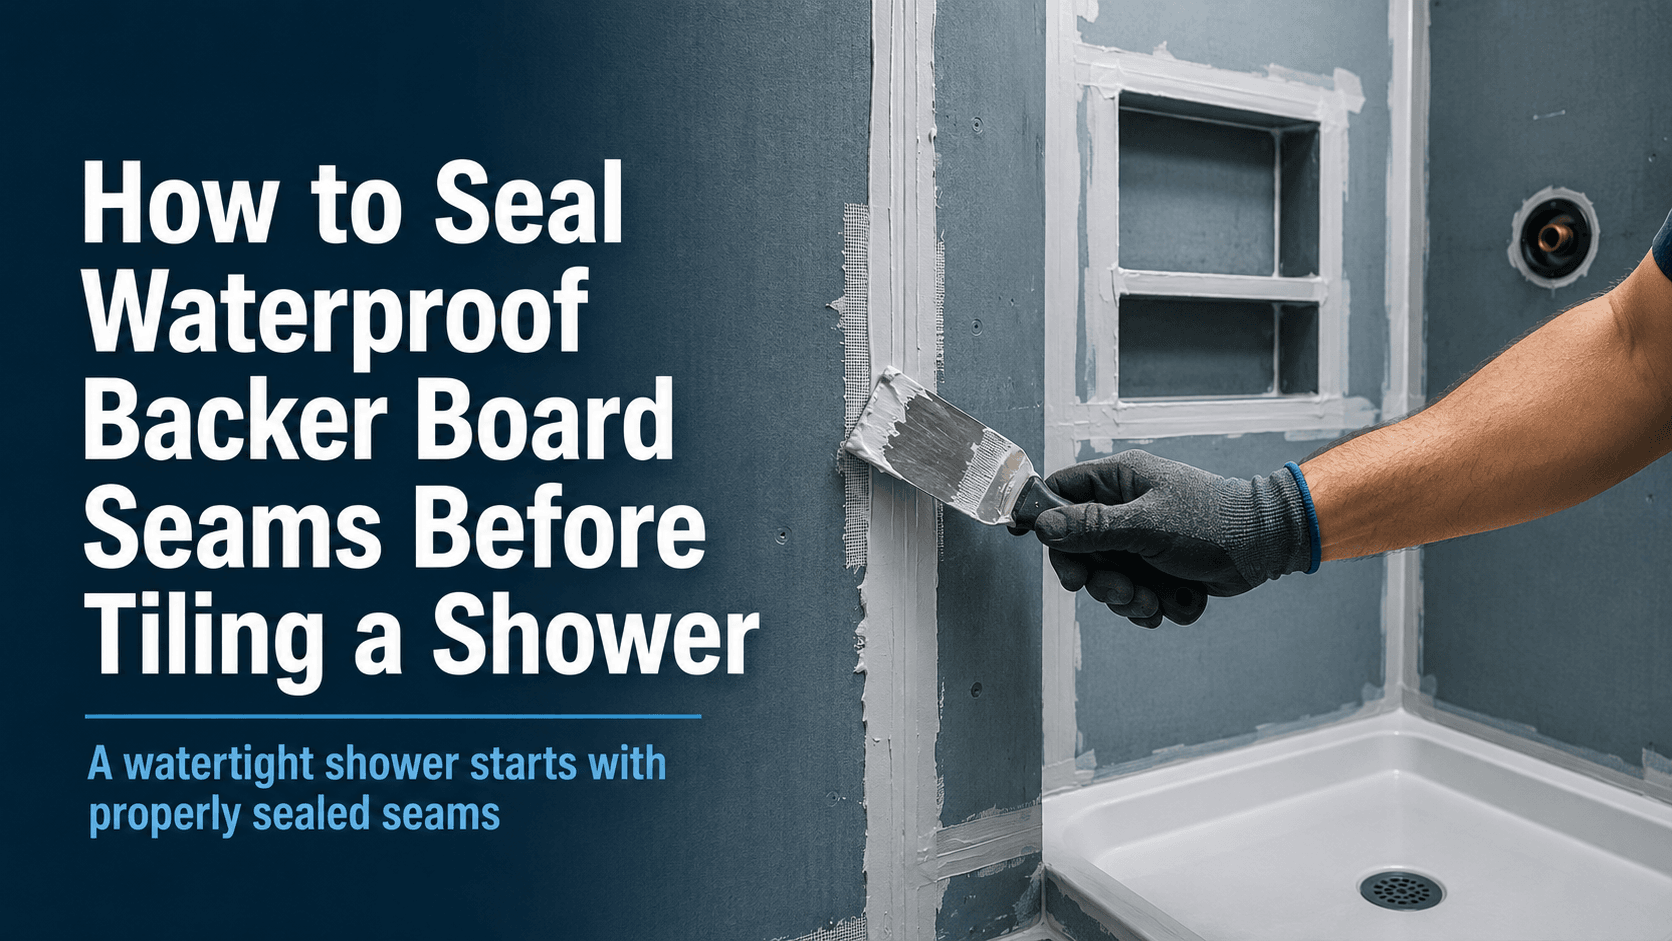
Review Seams, Corners, and Penetrations
The practical check is simple: can another trade look at the wall and understand what has been prepared? When review seams, corners, and penetrations is documented clearly, the waterproof backer board installation becomes easier to inspect before it is hidden behind tile.
Good workmanship still matters. Straight cuts, stable edges, supported penetrations, and a surface suited to the chosen finish are all part of review seams, corners, and penetrations. The waterproof backer board should make those checks easier, not replace them.
Confirm the Tile Installer Has a Usable Surface
Buyers should ask how this detail will be handled on site. A drawing, photo checkpoint, or short room note can show whether the waterproof backer board layout is aligned with the real wet-area risk. This avoids relying on broad language that does not help the installer.
Good workmanship still matters. Straight cuts, stable edges, supported penetrations, and a surface suited to the chosen finish are all part of confirm the tile installer has a usable surface. The waterproof backer board should make those checks easier, not replace them.
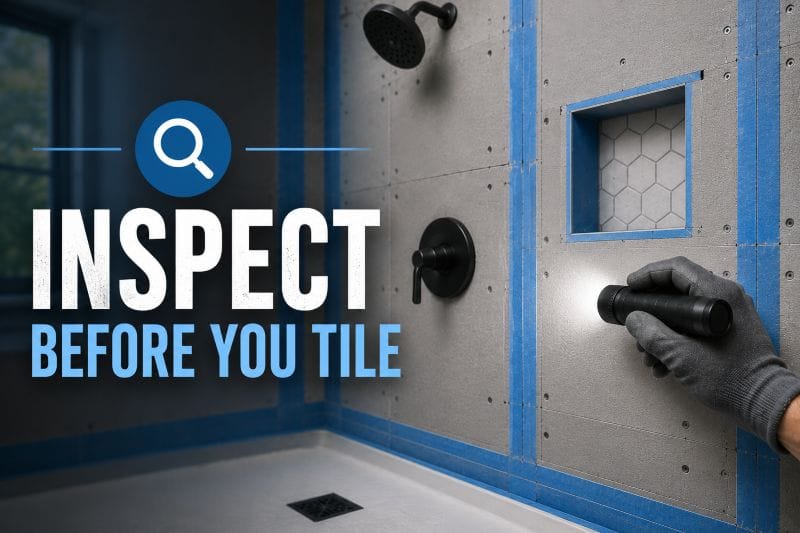
Confirm the Tile Installer Has a Usable Surface should be decided before the finish work begins. For site supervisors, project managers, and owners approving tile work, the main issue is whether the waterproof backer board supports the exact wall condition, not whether the product sounds useful in general. The detail has to match water exposure, fixture placement, and the way tile or another finish will meet the wall.
Record the Approval Clearly
Good workmanship still matters. Straight cuts, stable edges, supported penetrations, and a surface suited to the chosen finish are all part of record the approval clearly. The waterproof backer board should make those checks easier, not replace them.
Record the Approval Clearly should be decided before the finish work begins. For site supervisors, project managers, and owners approving tile work, the main issue is whether the waterproof backer board supports the exact wall condition, not whether the product sounds useful in general. The detail has to match water exposure, fixture placement, and the way tile or another finish will meet the wall.
This part of the work is where vague planning usually becomes visible. If record the approval clearly is left until the installation day, the crew may have to adjust cuts, transitions, or openings without enough time. A waterproof backer board is more effective when those decisions are made while the wall is still open.
Mistakes That Create Rework
- Selecting waterproof backer board after the wall layout and fixture positions are already fixed.
- Using the same wall preparation in wet and dry areas without defining exposure.
- Ignoring board seams, openings, corners, or transition lines until tile setting begins.
- Skipping pre-tile photos and leaving hidden work undocumented.
The real risk is usually not a single bad choice. It is a chain of small unclear decisions that make the waterproof backer board harder to install, harder to inspect, and harder to explain after the wall is covered.
Useful Background References
For general background on ceramic tile, see https://en.wikipedia.org/wiki/Ceramic_tile. For broader building moisture education, the Whole Building Design Guide page at https://www.wbdg.org/resources/moisture-management is a useful reference. These sources provide context, while final decisions should follow product instructions, local requirements, and project-specific professional judgment.
Conclusion
The strongest wet-area projects treat wall preparation as a sequence rather than a single purchase. Framing, board handling, cutting, fastening, inspection, and finish coordination all affect the final result. A waterproof backer board gives the team a practical substrate choice, but the value depends on how clearly it is planned and installed.
A Practical Approval Workflow for Site Supervisors
A useful approval workflow should separate product suitability from installation workmanship. The product review confirms that the waterproof backer board is appropriate for wet-area tile use, that the board type matches the project exposure, and that the installer has followed the supplier instructions available for that material. The workmanship review checks framing support, board alignment, cut edges, fastener placement, joint treatment, and the condition of the surface before tile work begins. Keeping those two reviews separate helps supervisors avoid a common mistake: approving a wall because the material name sounds correct while missing visible installation details that can still create risk.
For commercial bathrooms, hotel showers, gyms, spas, and residential remodels, the approval process should be documented before the first tile is set. Photos should show the entire wet wall, inside corners, board-to-board joints, penetrations, lower wall transitions, and any niche or bench detail. The photos do not need to be complicated, but they should be clear enough for a project manager, owner representative, or future service team to understand how the waterproof backer board was installed before the finish layer covered it.
Inspection Points That Often Separate Good Work From Risky Work
The most useful inspection points are usually simple. Check whether the board is fully seated against the framing, whether unsupported edges have been avoided, whether cuts around valves are neat rather than oversized, and whether fasteners sit flush without damaging the face. A waterproof backer board can provide a better wet-area substrate than ordinary wallboard, but it cannot correct poor layout or rushed coordination. If the wall surface is uneven, if board joints fall awkwardly at a niche corner, or if plumbing penetrations are left vague, the tile layer inherits a problem that should have been resolved earlier.
- Confirm that the board is being used in the wet-area zones identified in the project plan, not only where it was convenient to install.
- Check that transitions to dry wall areas are clear, stable, and ready for the selected tile or finish system.
- Review seams, inside corners, outside corners, and penetrations before approving the wall for tile.
- Make sure the installer has not hidden damaged edges, loose fasteners, or unsupported cutouts behind setting material.
How to Record Approval Without Overcomplicating the Job
A short approval record is often enough. The record should include the room name, wall location, inspection date, board condition, open issues, and the person who approved the wall for the next trade. For buyers comparing product options, the waterproof backer board product range can be reviewed together with the planned use area so the specification does not become detached from the actual room. For project teams focused on bathrooms, the bathroom moisture protection system page gives useful internal context for how wet-area wall planning fits into broader moisture control.
The approval record should not promise performance that has not been tested on the project. It should simply show that the waterproof backer board was inspected against visible workmanship criteria and that obvious issues were corrected before tile installation. This keeps the review practical and credible. It also gives contractors a cleaner way to discuss scope if a later issue is caused by movement, plumbing changes, substrate damage, or work by another trade after approval.
Reference Sources for Moisture and Tile Context
For general background on moisture behavior in buildings, the Whole Building Design Guide moisture management resource is a helpful non-commercial reference. For basic tile terminology and context, the ceramic tile overview on Wikipedia can help non-specialist buyers understand why substrate preparation matters. These references should not replace product instructions, local code requirements, or professional judgment, but they support a more informed conversation about why a waterproof backer board inspection should happen before tile is installed.
| Approval area | What to check | Why it matters |
| Board layout | Coverage in wet zones, supported edges, clean transitions | Shows whether the waterproof backer board matches the room exposure and tile plan |
| Openings | Valve cuts, pipe penetrations, niche corners, bench interfaces | Reduces hidden weak points before the finish layer is installed |
| Surface condition | Flatness, fastener condition, damage, debris, moisture concerns | Helps the tile installer start from a predictable substrate |
| Documentation | Photos, open issues, approval date, responsible reviewer | Creates a practical record without turning the inspection into paperwork only |
Final Approval Advice
The best approval decision is not based on a single photo or a product label. It is based on whether the waterproof backer board has been selected for the right exposure, installed with clear workmanship, and reviewed before the wall becomes inaccessible. When the inspection is handled this way, the project team can approve wet-area tile work with fewer assumptions and a clearer record of what was actually checked.
One final check is to compare the approved wall with the purchase intent. If the order was placed because the room needed a waterproof backer board behind tile, the installed wall should clearly show where that waterproof backer board was used, how it was cut, and how it was prepared for the next trade. This is especially important when a waterproof backer board is used near shower controls, curb areas, benches, or other places where small workmanship choices can affect the final finish. A visible, written approval makes the waterproof backer board part of a controlled installation process rather than a loose material claim.